Tutorials
Tutorial: How to Cornrow Your Child’s Natural Hair
Knowing how to do a cornrow braid can be invaluable to a parent who has children with natural hair. Braids are a great protective style to use in your natural kid’s hair in order to keep it hidden and protected from elements such as the sun, wind and extreme temperatures.
It is also a great styling mechanism if you want your kid’s hair to grow, rest or you’re just tired of fussing with it daily. Keep in mind, however, that you shouldn’t leave cornrows in longer than up to 3 weeks because they are continually pulling on your child’s hair line which can cause thinning around their edges.
If you want the cornrowed style to last, make sure to moisturize the scalp frequently, and tie the hair down at night using a satin scarf or satin bonnet.
Also, make sure to allow the hair to rest in between cornrowed styles. When you take out the braids, give the hair a good cleansing with a moisturizing shampoo and conditioner, and let the hair rest for about a week before braiding it again.
Don’t know how to cornrow hair? Check out these easy steps below.
Basic tools needed:
- A metal rat tail comb. I find this comb is the best for getting your parts as straight as possible.
- A wide tooth comb, for detangling. I highly recommend detangling with your fingers first though.
- Moisturizer/leave-in
- A product with good hold (Eco styler gel is pretty popular and has a great hold without drying out the hair.)
- A spray bottle filled with water (optional)
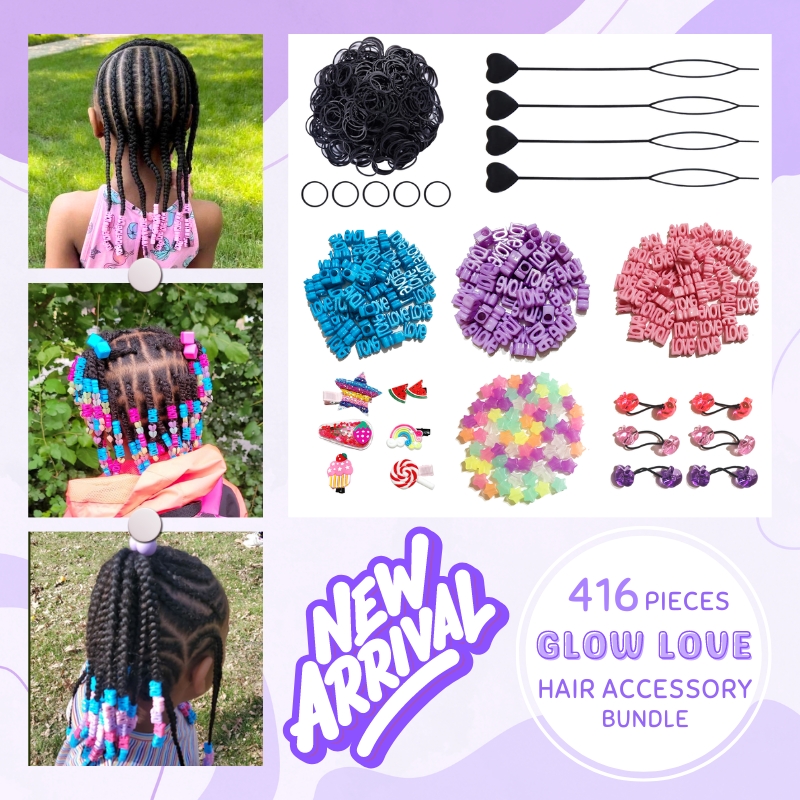
- Beads, barrettes, snaps, or other cute hair accessories (optional)
Written Instructions
Step 1: Plan out the pattern the cornrows should follow. For the novice, basic rows from the front to back are the easiest to master. With more practice, one can become a little more creative. Have the hair washed and fully detangled. Then moisturize hair according to the LOC Method.
Step 2: Section off the first row to be done.
The top middle row is ideal for the first one. Keep the row even in width. Narrow rows look less sloppy when finished. The remaining hair can be put into ponytails or butterfly clips until needed. This keeps it out of the way of the braiding process.
Step 3: The cornrow is actually an inverted French braid. Rather than the braid being tucked under, it is made to protrude in a more distinct fashion. To start braiding children’s hair, section off the first quarter inch of hair at the top of the row. Divide this into three smaller sections and begin a regular braid by passing the right section under the center section. It is now the center section, and the center one has become the right side. Now pass the left section under the center one. This completes one braided stitch.
Step 4: As you continue braiding, a small bit of hair from the row directly under the braided stitch is lifted up and placed in with the center section. The right strand is passed under the center strand, and then the left strand is passed under the new center strand.
Step 5: Repeat step four until the bottom of the row is reached and all the hair that was parted off for this row has been worked into the braid. Any remaining length of hair can be worked into a regular braid.
Step 6: Secure the end of the hair with a hair band, a snap, bead, barrette, or hair clip.
Step 7: Continue by parting off a row next to the finished cornrow. Make sure it is the same width as the first one so that the finished style has a uniform look to it. Starting with step four, continue until the entire head is covered.
Once cornrowing becomes easier, one can become more creative with the different designs. Remaining hair can be put into buns, and accessories can be added for fun.
Are you more of a visual learner? Check out these youtube videos that we have handpicked just for you for additional help!
Don’t be discouraged if your braids don’t look as neat as you might have wanted them, but, with practice, you will be able to achieve the desired look that your child will love!


2 Comments